| Baby's room Pictures - March
15st, 2003.
(click on any picture to see a larger image)
Start installing drywall |
|
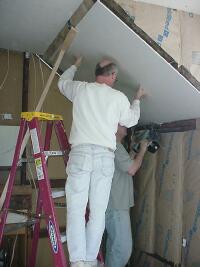
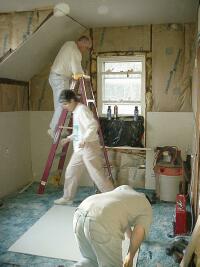
Jed's parents came to the house to help with
the baby's room this weekend. Getting the drywall into the house and putting
it on the ceiling takes a few people. We constructed a 2x3 "T"
to help hold the drywall to the ceiling as we screwed it down. |
|
The screw gun didn't fit very well into the corners, but
worked well everywhere else. |
|
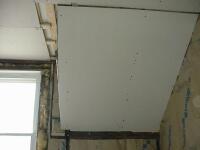
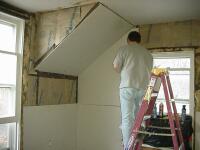
This is the opposite eave, which was a little easier. I'll
go though and take all the screws that missed the stud out later. |
|
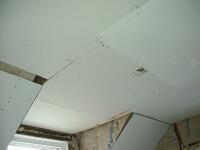
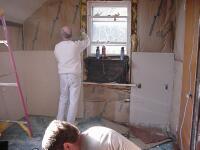
Most of the ceiling is done, including the section above
the window. |
|
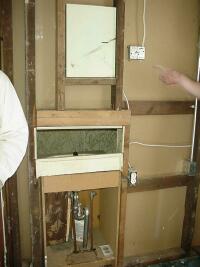
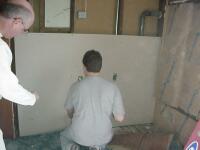
Bathroom wall- before. |
|
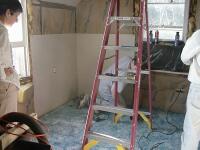
The same wall after. The rotozip tool came in handy for cutting
out the holes around the electrical boxes. |
|
We wanted to get most of
the larger sections installed while Jed's parents were there. We'll go
back another day and complete the smaller sections |
|
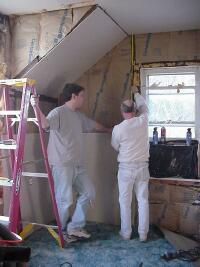
The cuts with the angles
are always the most difficult. No, nothing in this house is straight or
on a "normal" angle. |
|
So we debated for awhile on how to cut this
section. |
|
Cutting the section for the back wall. |
|
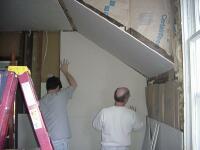
Finally installing the angle section. |
|
Same angle, just the other side of the room
(bathroom wall) |
|
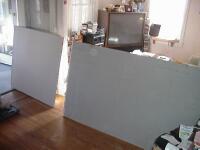
We can't fit a full sheet of drywall up the
stairs, so we pre-cut most sections downstairs. |
|
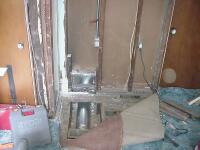
Our HVAC installer Ray stopped by too and moved
our heat vent from the wall to the floor. This will allow us to put something
against that wall if we want too. Perfect place for a changing table or
dresser. |
|
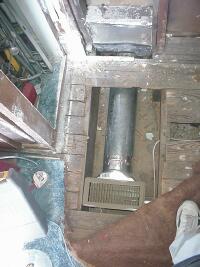
Here's another shot of the new vent. The wire
running to the left of the vent goes to the kitchen table light below. |
|
Diva helped too. |
| |
|
